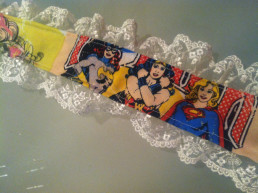
Do-it-Yourself: Geeky Wedding Garter
 Making your own custom garter is a very easy sewing project! It adds a delightful surprise for your wedding, costume, or lingerie! It's great for the crafty geek who wants to have a little fun!
Step 1:Measure the circumference of your leg with a tape measure. Garters are traditionally worn about two inches above or below the knee, so be sure to measure where you want to wear your garter.
Step 2: Buy your materials! You will need:
- About half a yard of fabric (I used a cotton print)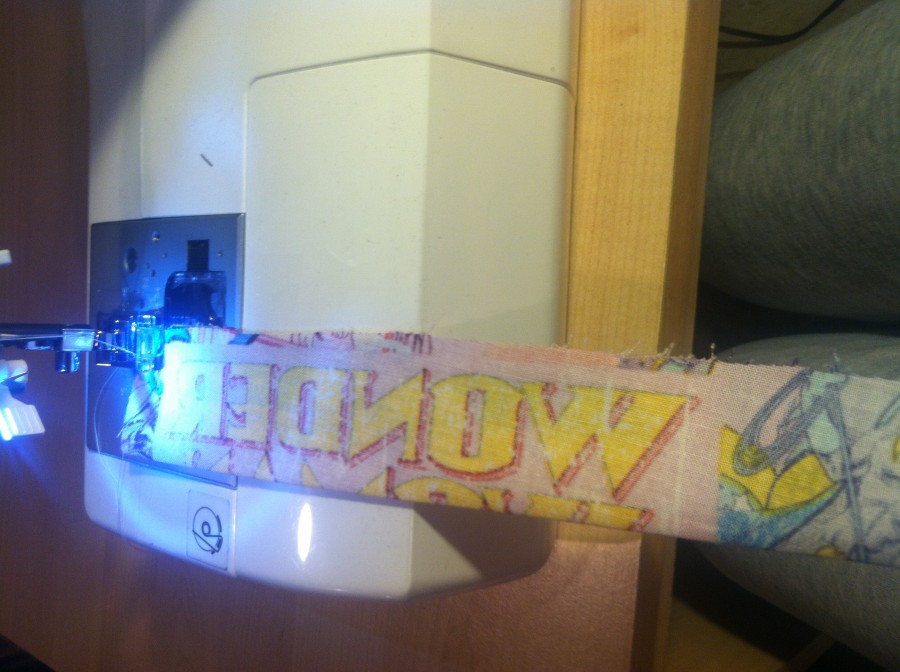
- 2 pieces of lace, each one matching your leg circumference measurement
- 1 inch wide elastic that matches the length of your leg circumference measurement
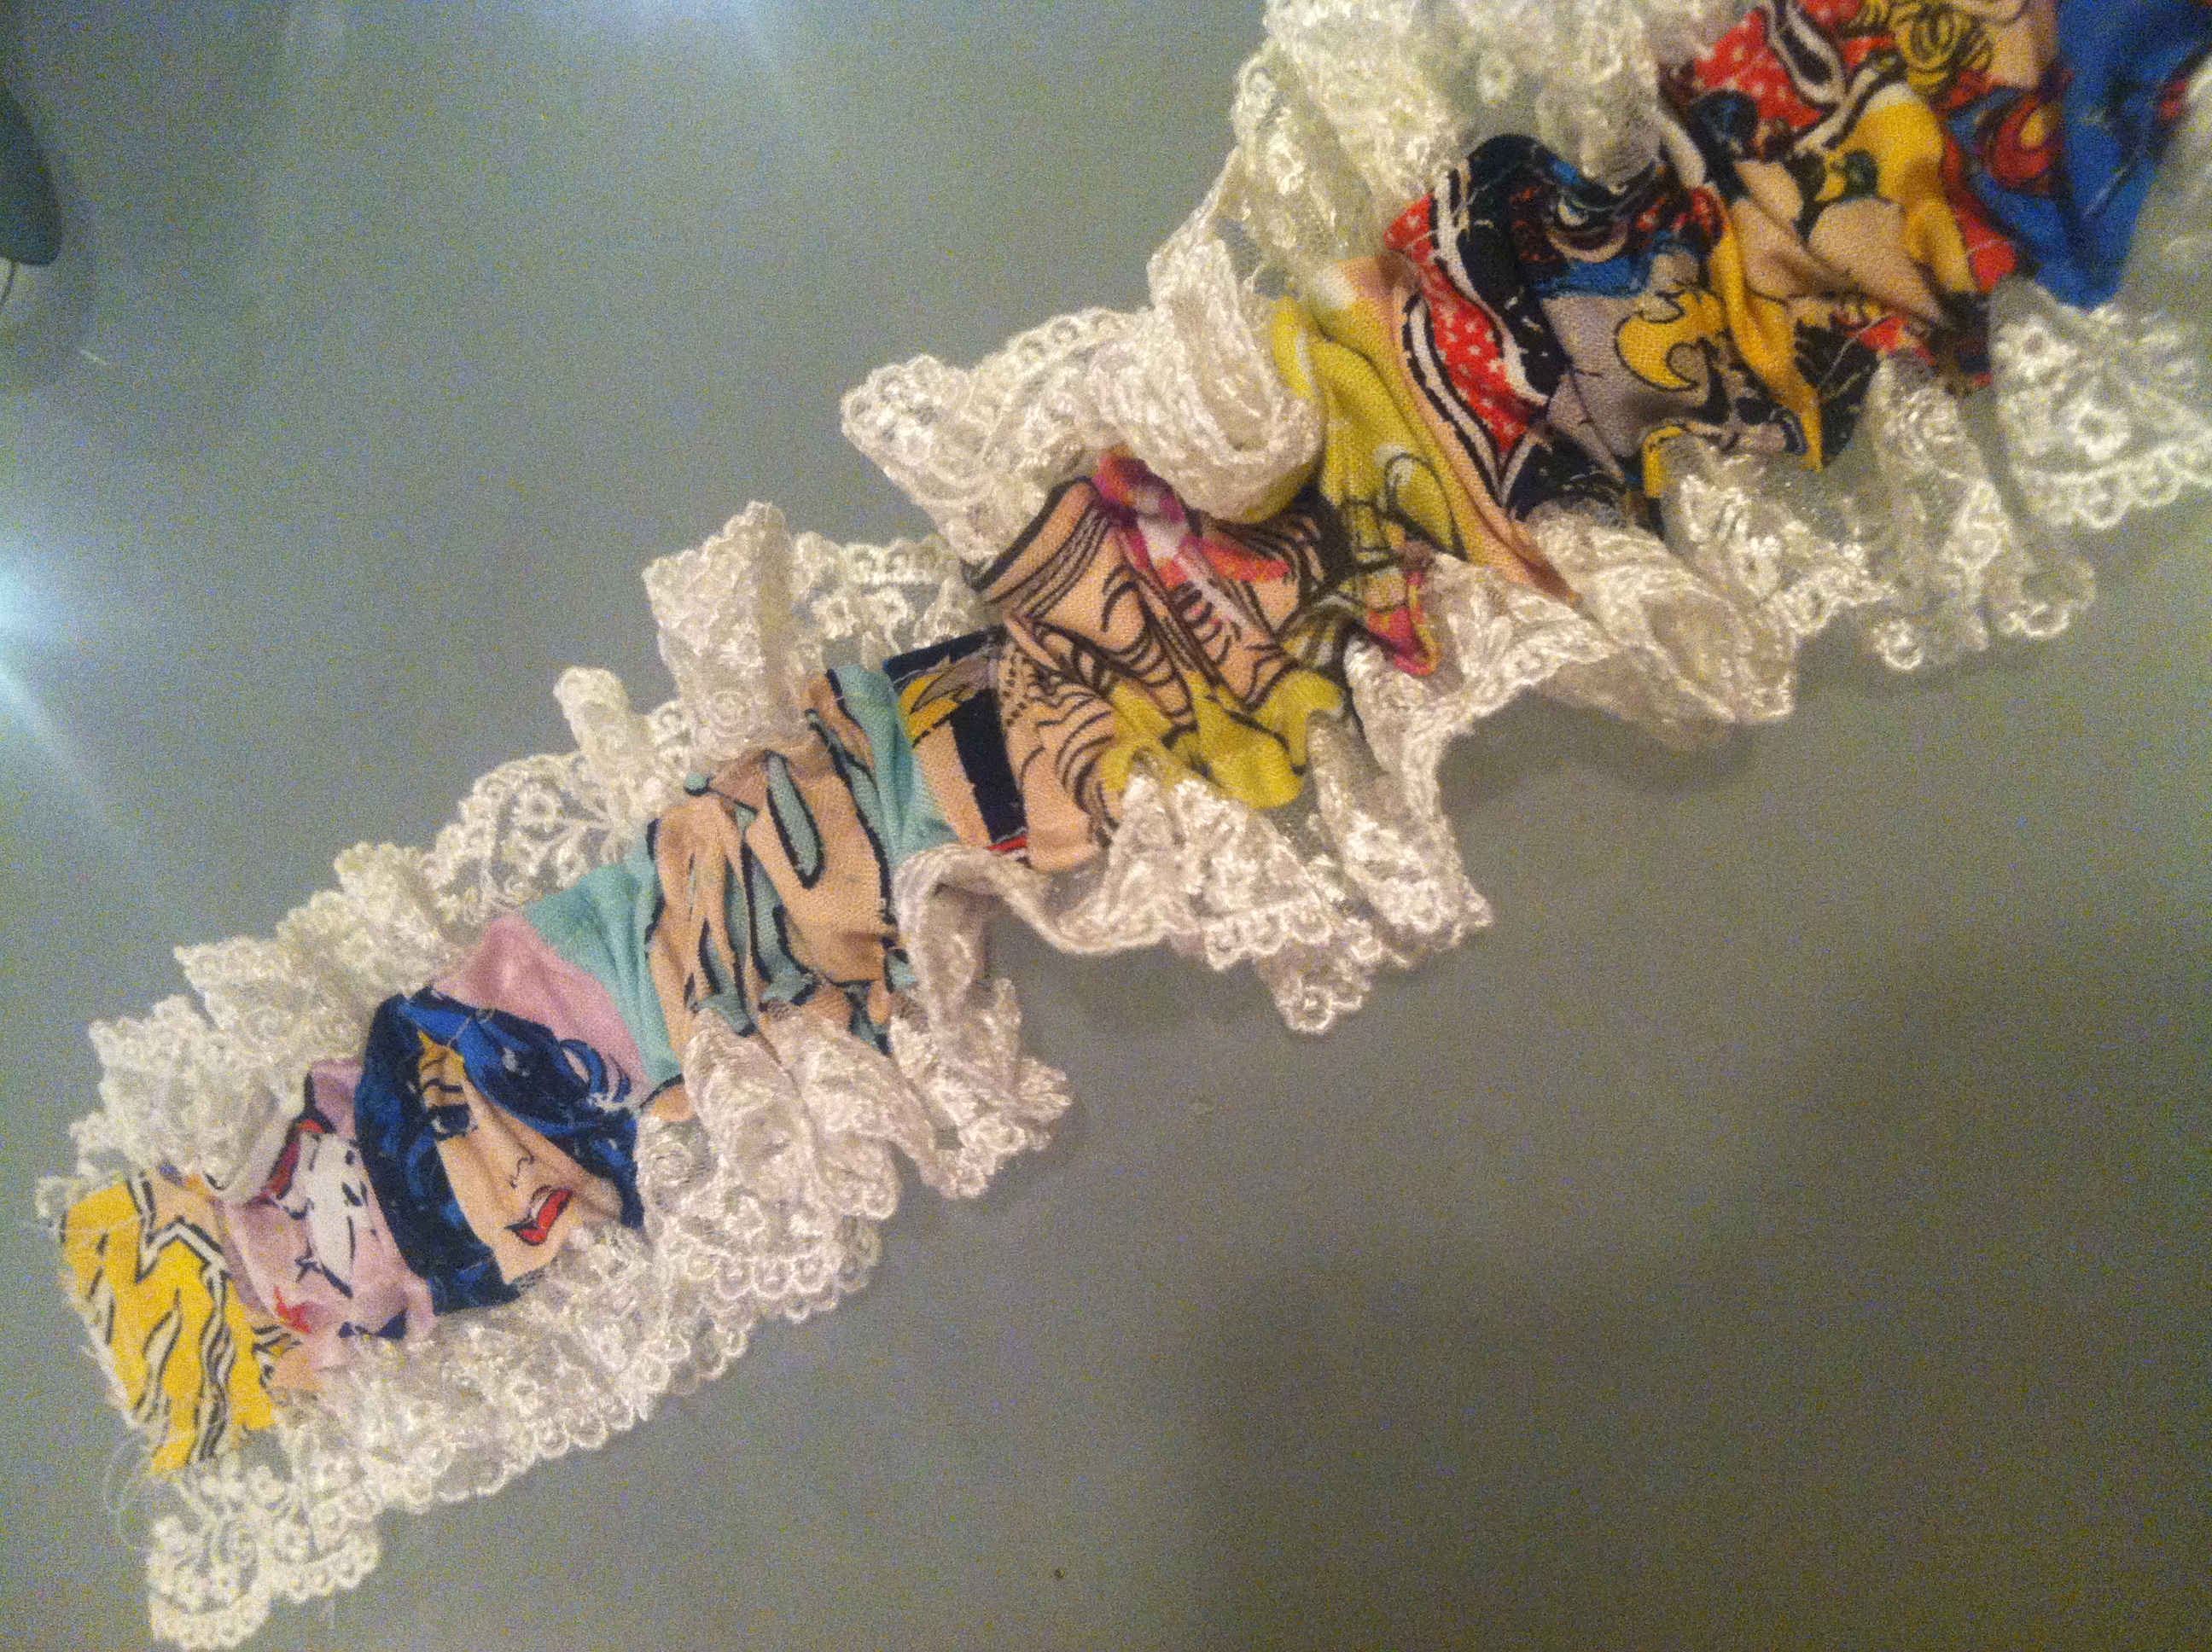
Step 3: Cut a strip of your prewashed fabric about 4 inches wide and about 10 inches longer than your leg measurement. Once you cut this strip, fold and iron it in half length-wise with the WRONG side of the fabric out. Then sew the open length closed so that you end up with a tube with the correct side of the print on the inside. Once that's done, pull the tube so that the correct side of the fabric is on the outside.
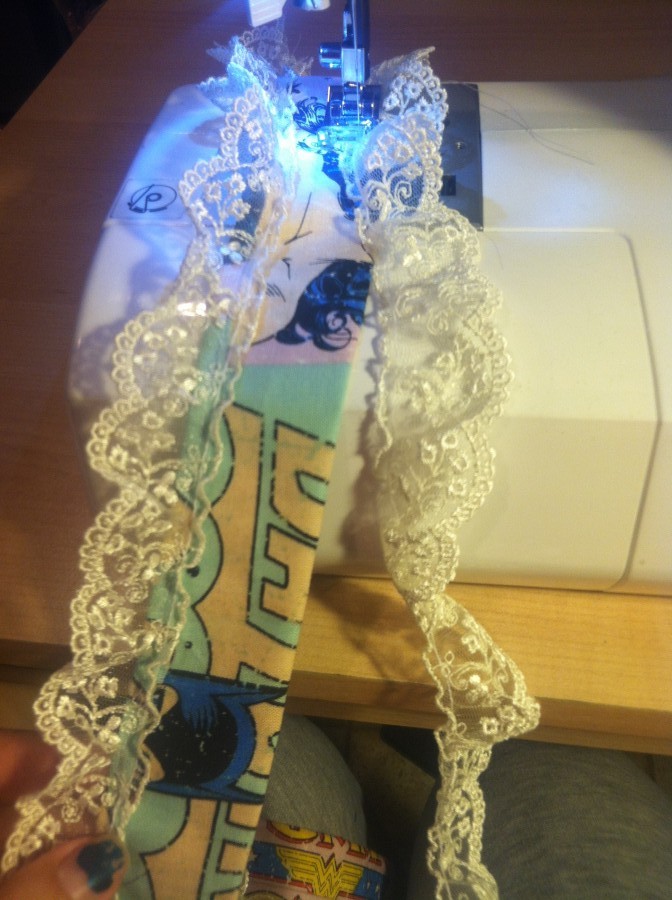 Step 4: Choose which side of the tube you like best, this will be the FRONT for the continuation of this tutorial. Now, pin and sew the lace along the both edges on the BACK of your tube. You need to stay fairly close to the edges so that you still have at least 1 inch between the seams on the tube for the elastic later.
Step 5: Stretch the elastic around your leg where you want the garter to sit. Tighten it enough to stay in place by itself, but not so tight that it is uncomfortable or cuts into your leg too much. Trim the elastic to that length.
 Step 6: Slide the elastic piece through the tube and stitch across each end so that the elastic is sewn to the cloth tube. Gather the tube evenly along the elastic piece to create a ruffled effect.
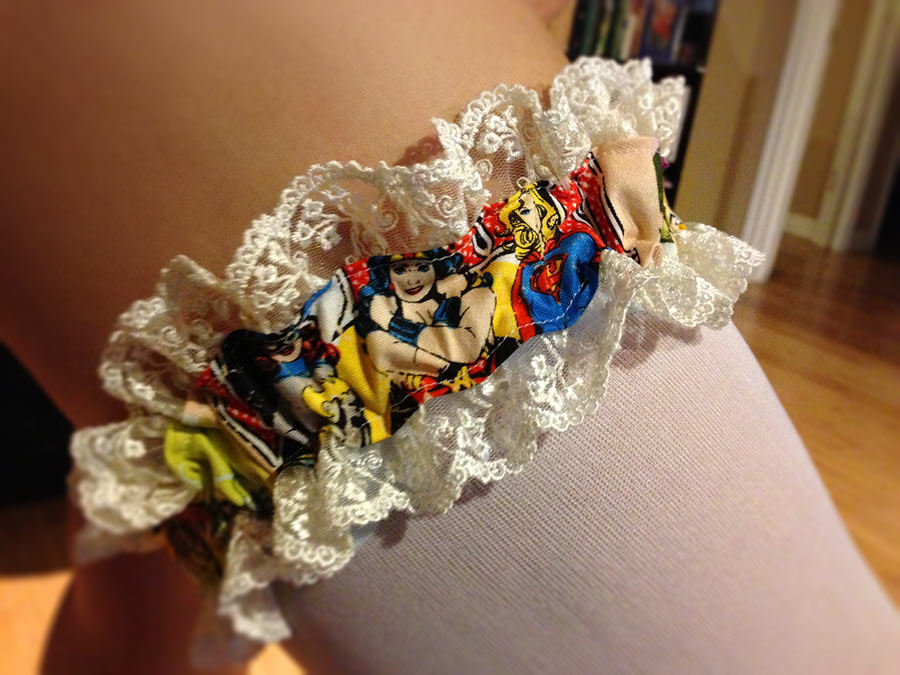
Step 7: Pin the ends of the garter together in a teardrop shape, make sure the FRONT is on the inside and the BACK is facing outward. Stitch these two ends together and then stitch over the edge with a zig-zag stitch so that the edges don't fray.
Step 8: Surprise everyone by wearing your lovely custom garter!