
Volumizing Your Hair for Cosplay

I struggled for years with styling my long hair. When I started cosplaying, I tried everything to get great "comic book" hair consistently, but completely failed. Some days I looked great and other days I was left with a stringy mess! Finally, I had a hair stylist teach me this trick for getting the perfect sexy hair style every time!
You will need:
- Hair dryer
- Mousse
- Rubber Hair band
- Hair Spray
- Curling Iron
- Aluminum Hair Clips
- Scissors (NOT for your hair)
Step 1: Hair Prep
Start by washing your hair and hand drying it with a towel. It should be damp but not dripping wet. Measure an egg sized amount of mousse in the palm of your hand and work it though your damp hair. Spread it out evenly starting at the roots and moving towards the ends, if you have long hair you may need to use a little extra mousse. Once this is done, blow dry your hair in sections until it is completely dry. Now your blank canvas is ready to begin!
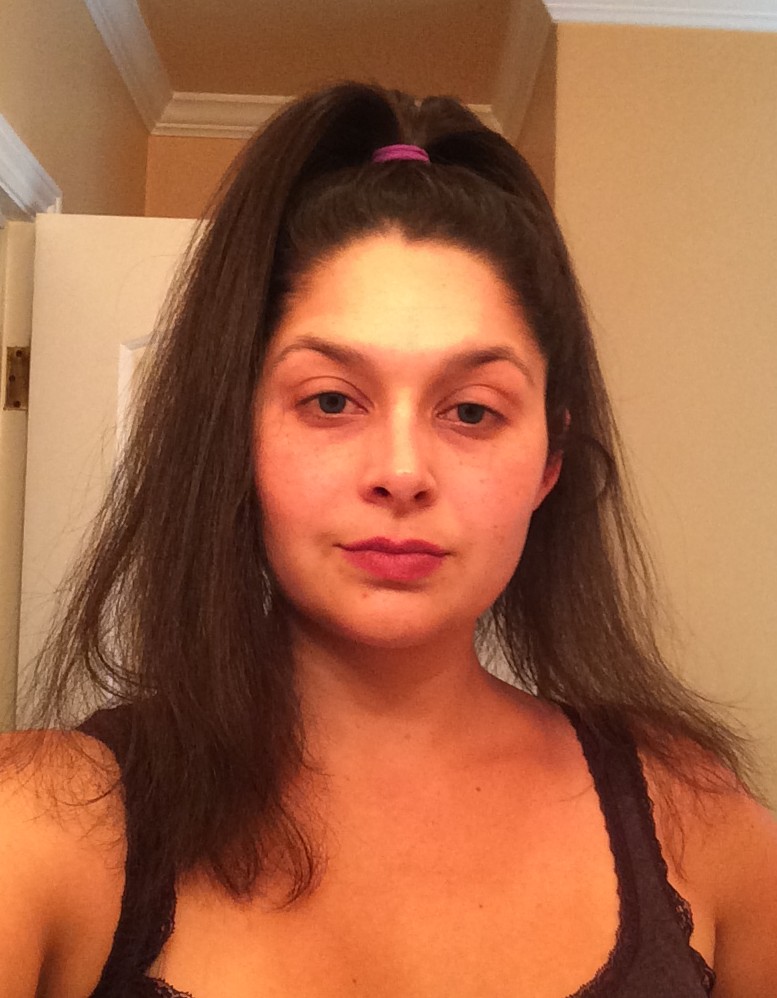
Step 2: High Ponytail
For step 2, be sure to select a low cost rubber hair band. It will get cut later in the process, so don't pick one that you aren't comfortable destroying.
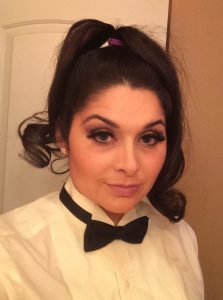
Think 90s ponytail for this step. Bring all your hair up into a tight ponytail on the very top of your head and secure it with the rubber hair band. The tighter you can get it, the better! Give your head a light spritz of hairspray when it's done. (Please ignore the complete lack of makeup in this picture! I was taking pictures for a makeup tutorial that same morning!)
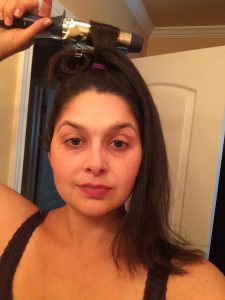 Step 3: Curling

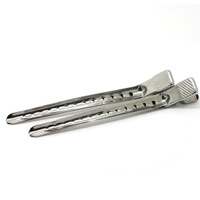 Start taking small sections of the ponytail that you made and curling those sections with a curling iron. The smaller and tighter the curls, the smaller and tighter the waves in your final style will be. Start at the end of the section of hair and curl up to the base of the ponytail. Hold the curling iron there for a moment and then CAREFULLY slide the curling iron out from the center of the curl without unraveling your hair. Don't burn yourself! Keep the hair curled up at the base of the ponytail and hold it in place with an aluminum hair clip (right). Spray each curl lightly with hair spray after it is pinned.
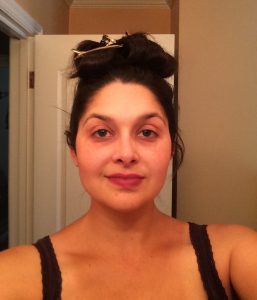 Step 4: Wait

The hard part is done and this is by far the easiest step in the process. Once all of your hair has been curled and clipped around the base of your pony tail, give your whole head one more light dusting with hair spray and then do nothing to it for a while. The longer that your hair is in these curls the longer your style will hold later.
I usually start my beauty prep with steps 1 - 4, then I finish getting ready by getting dressed and applying my makeup while I'm giving my hair more time to set.
 Step 5: Take it Down

Carefully pull the hair clips out of your ponytail and let each curl fall. You can straighten them a bit with your fingers, but don't run your fingers through them or brush them out. Handling them is the deal of the curls!
Once all your hair is down use the scissors to cut the rubber band and let your hair fall. Again, avoid running a brush or fingers all the way through it, but you can shake your head or use your hands to shake your hair until it loosens up a bit. You can also use your fingers or a comb to create a part, if needed. Lock it in with hairspray when you're done! (Woohoo! I have makeup on in these pics!)
 Step 6: Enjoy!
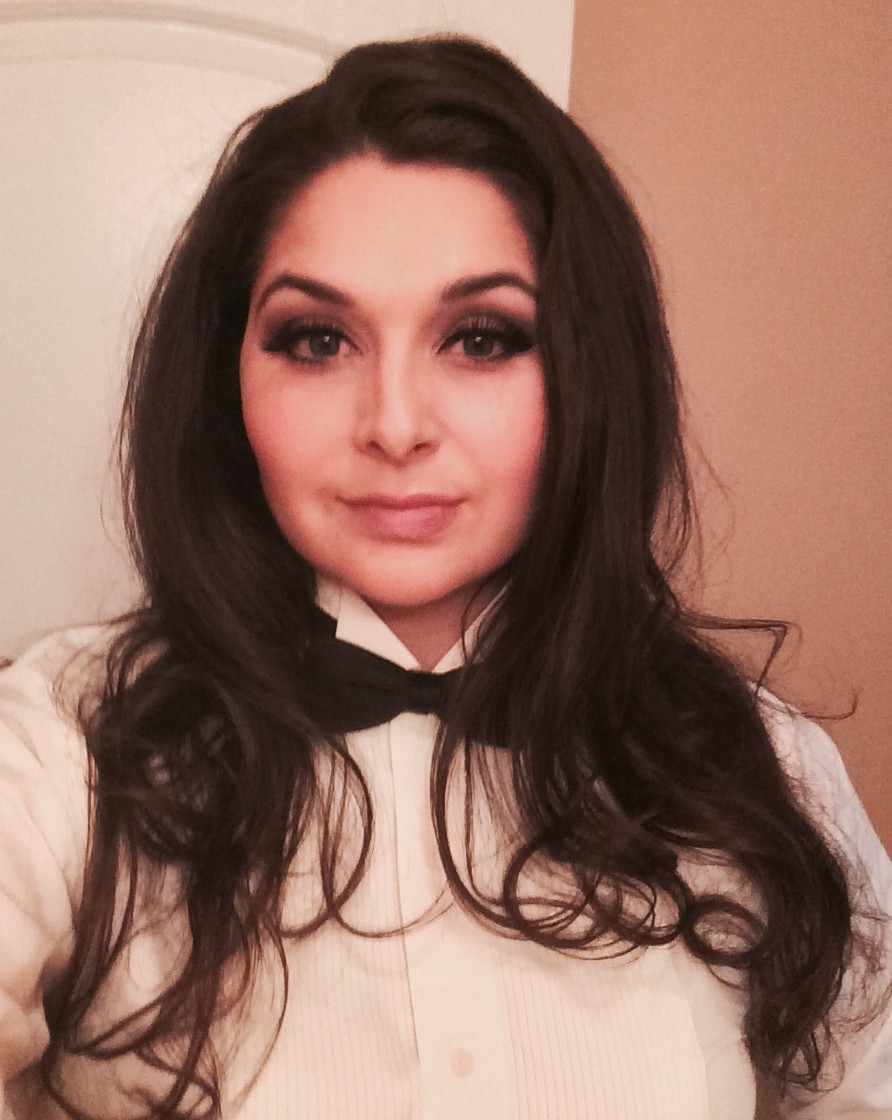
Enjoy your sexy look! Rest easy knowing that you can look this good whenever you want and without spending all morning on your hair!
What is Inappropriate Cosplay?

In October, I traveled to Seattle to speak about the Psychology of Cosplay at Geek Girl Con. It was an amazing panel organized by Dr. Andrea Letamendi, a clinical psychologist and cosplayer, and included Jessica Marizan, Chaka Cumberbatch, and myself as panelists. We discussed a ton of really great concepts, and the inevitable topic of "inappropriate" cosplay was brought up and discussed by the panelists.
I want to be completely clear about my feelings on this topic: THERE ARE INAPPROPRIATE OUTFITS TO WEAR TO PUBLIC EVENTS, AND AS COSPLAYERS, WE HAVE TO BE AWARE OF OUR AUDIENCE.
Now, the main focus of these debates is often skimpy/sexy cosplay. While I tend to be more modest than many other cosplayers, I have no problem with revealing cosplays. I have worked with children long enough to know that the human body, contrary to what many believe, is not damaging to the average child's psyche. I know I'll probably get emails about that statement, but it's true. The cosplays that really worry me are the bloody and violent ones. Those can really freak out kids in a way that cleavage never could.
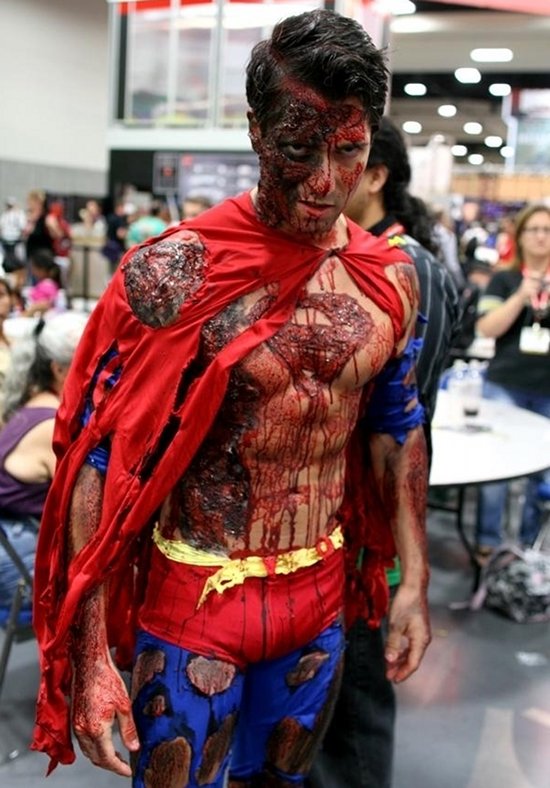
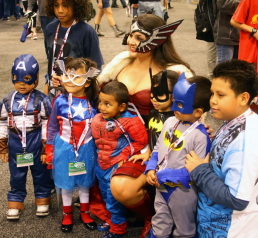
My best example of this is from a convention that I attended in 2012. I was dressed up as Wonder Woman, and as always, was having a blast posing with kids. One of the most excited fans was a little Superman, proudly wearing his foam muscled outfit from the Halloween store. He flexed his muscles and flew circles around his parents to show me how fast he was. "Cute" doesn't quite cover it. Later that day, I was wandering the halls and I ran into a mutilated Superman cosplayer limping around and posing with people. From a makeup/costume viewpoint, he really looked incredible. He really resembled Superman and his massive injuries/blood looked real even from up close. I was admiring his work from a distance, when I saw my little Superman friend from before stopped dead in the middle of the aisle. The look of horror on his little face made my stomach drop. He started crying, and had to be carried off by his parents.
We are portraying characters that people love, and in some cases, look up to as personal heroes. This is especially true for children, who are a significant portion of the con-going population. We have to balance self-expression with our responsibility to respectfully portray these characters that have left such a deep mark on pop-culture. The last thing our community needs is policing and limiting of creativity, but we need to be empathetic. Be reasonable with the blood effects, or save it for select events and photo shoots. If we have the passion to step into the shoes of the most powerful characters in fiction, surely we have the power to step into the shoes of young fans and their families.

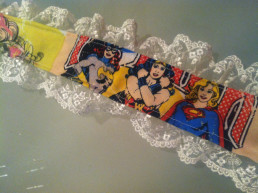
Do-it-Yourself: Geeky Wedding Garter
 Making your own custom garter is a very easy sewing project! It adds a delightful surprise for your wedding, costume, or lingerie! It's great for the crafty geek who wants to have a little fun!
Step 1:Measure the circumference of your leg with a tape measure. Garters are traditionally worn about two inches above or below the knee, so be sure to measure where you want to wear your garter.
Step 2: Buy your materials! You will need:
- About half a yard of fabric (I used a cotton print)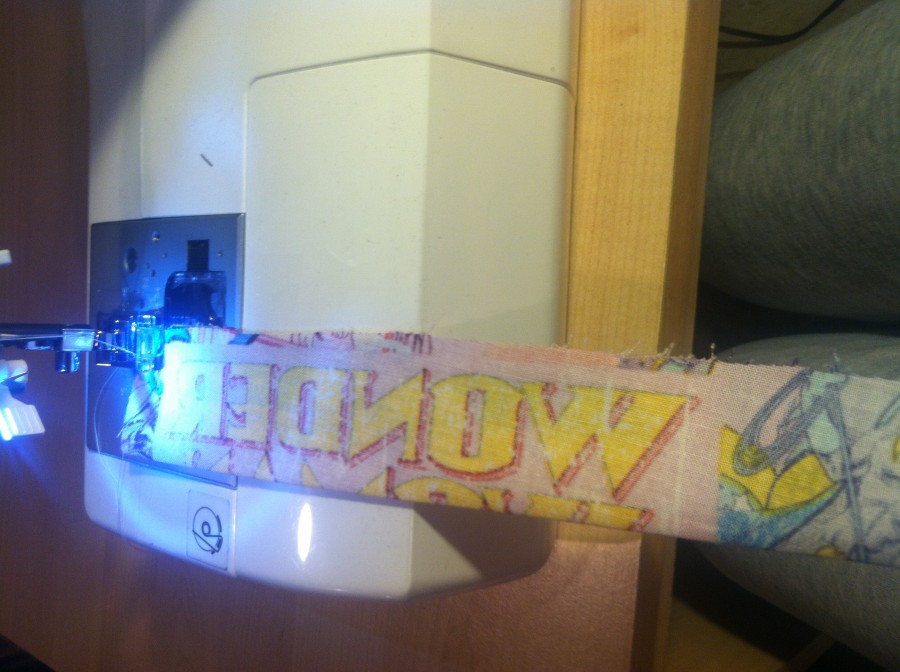
- 2 pieces of lace, each one matching your leg circumference measurement
- 1 inch wide elastic that matches the length of your leg circumference measurement
Step 3: Cut a strip of your prewashed fabric about 4 inches wide and about 10 inches longer than your leg measurement. Once you cut this strip, fold and iron it in half length-wise with the WRONG side of the fabric out. Then sew the open length closed so that you end up with a tube with the correct side of the print on the inside. Once that's done, pull the tube so that the correct side of the fabric is on the outside.
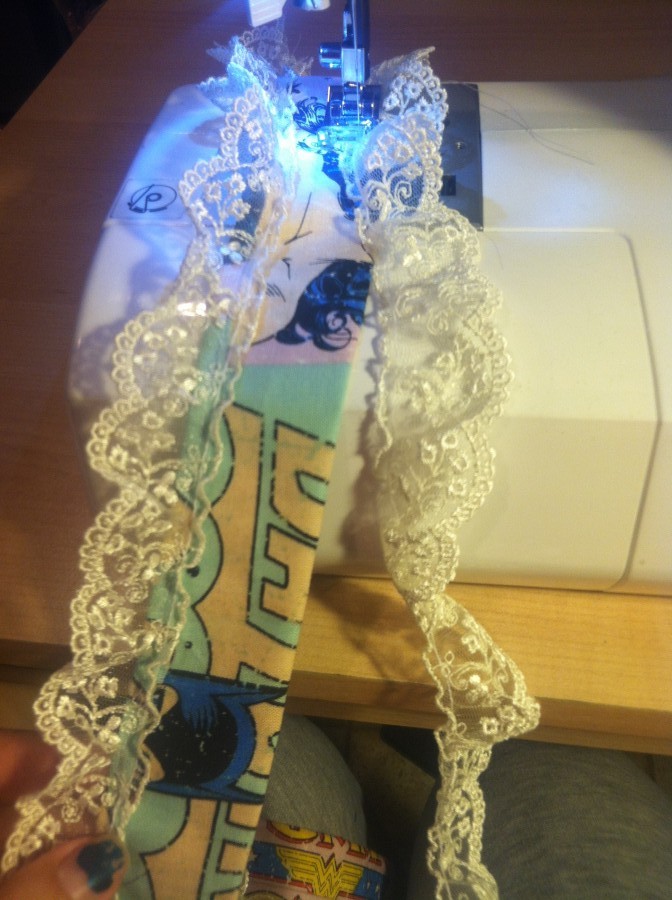 Step 4: Choose which side of the tube you like best, this will be the FRONT for the continuation of this tutorial. Now, pin and sew the lace along the both edges on the BACK of your tube. You need to stay fairly close to the edges so that you still have at least 1 inch between the seams on the tube for the elastic later.
Step 5: Stretch the elastic around your leg where you want the garter to sit. Tighten it enough to stay in place by itself, but not so tight that it is uncomfortable or cuts into your leg too much. Trim the elastic to that length.
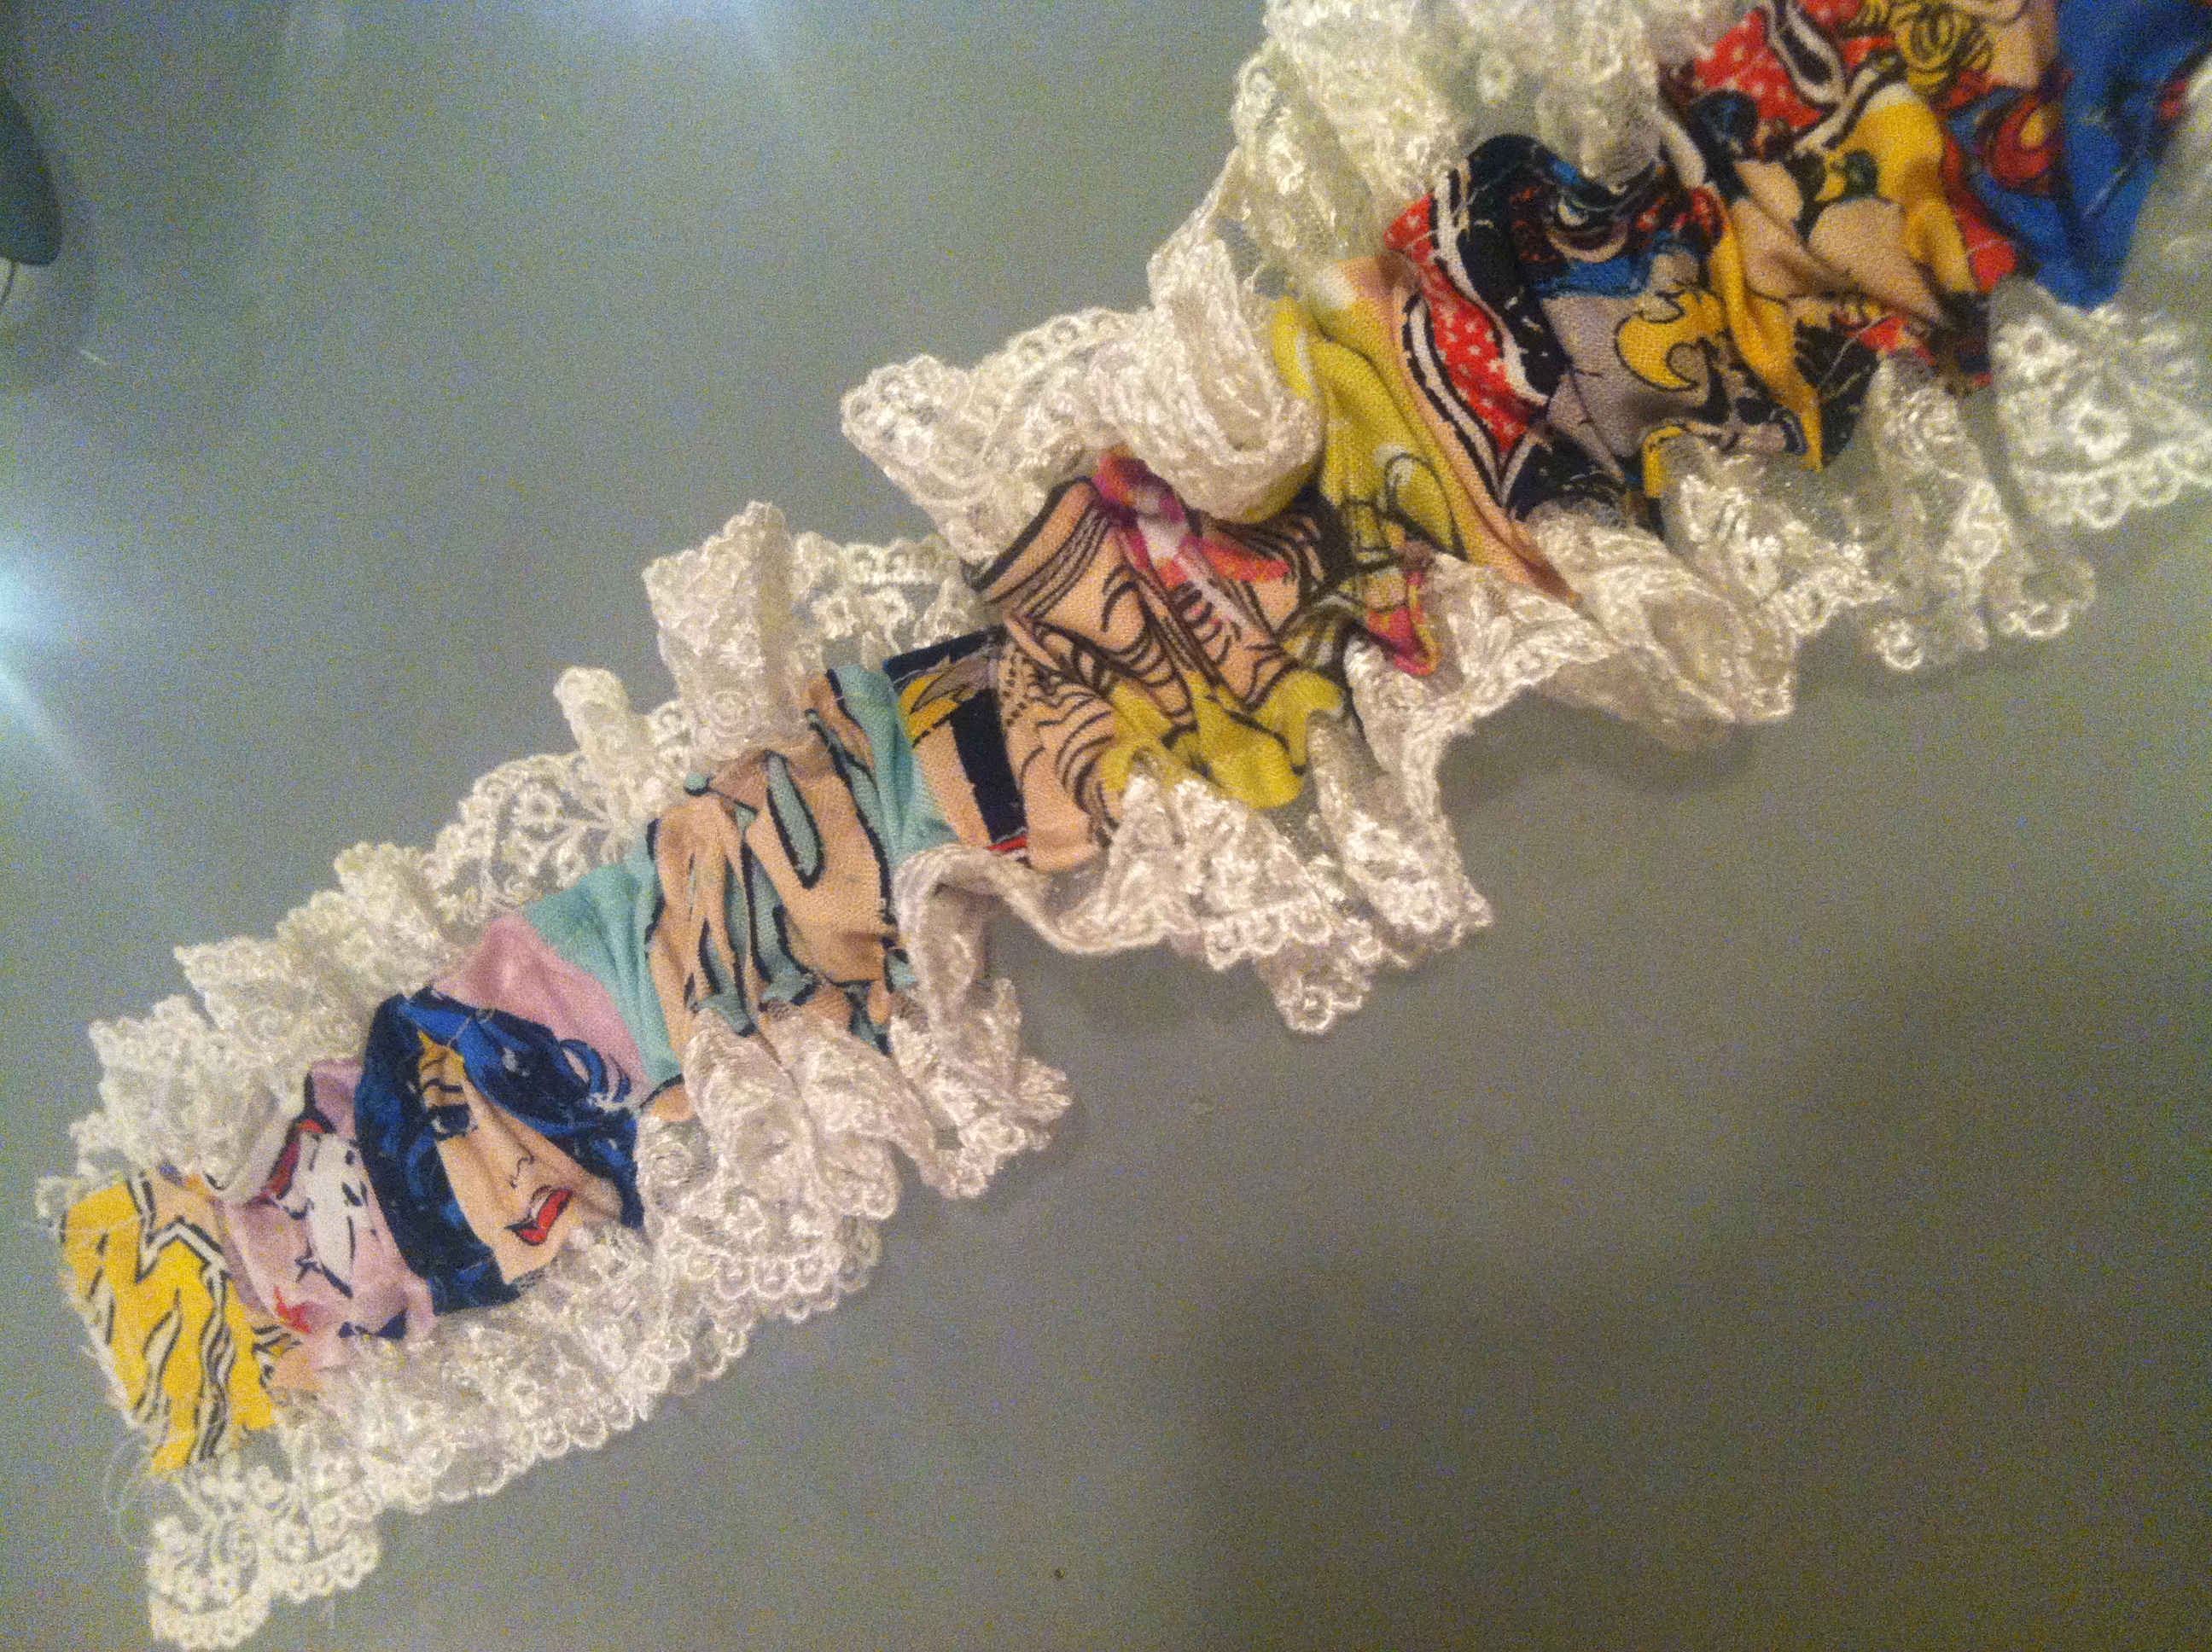 Step 6: Slide the elastic piece through the tube and stitch across each end so that the elastic is sewn to the cloth tube. Gather the tube evenly along the elastic piece to create a ruffled effect.
Step 7: Pin the ends of the garter together in a teardrop shape, make sure the FRONT is on the inside and the BACK is facing outward. Stitch these two ends together and then stitch over the edge with a zig-zag stitch so that the edges don't fray.
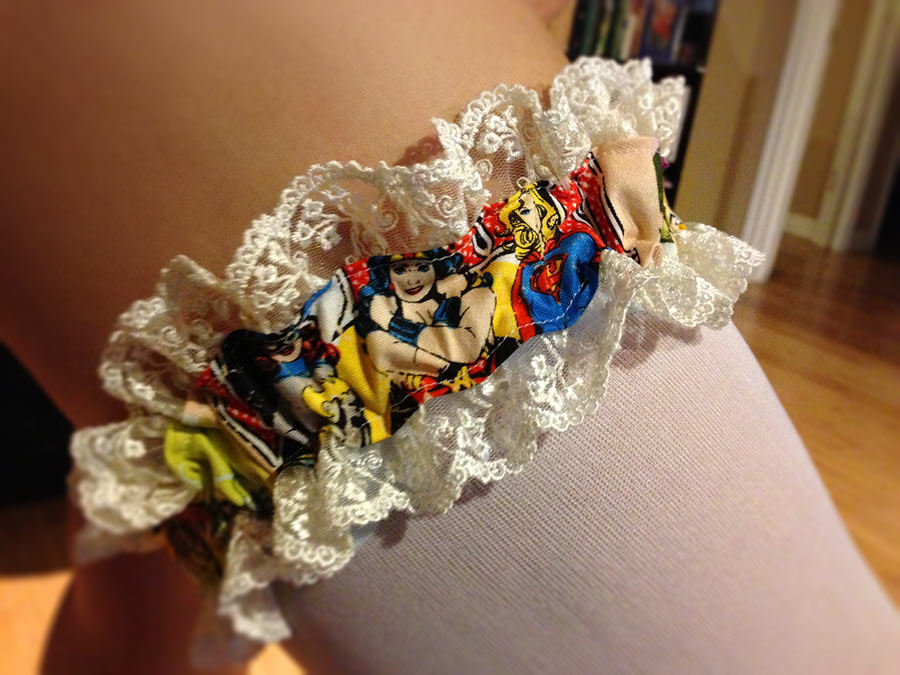
Step 8: Surprise everyone by wearing your lovely custom garter!