The perfect cutting table is a dream for many crafters and DIYers, but sadly, professional cutting tables are expensive! However, you can adapt your existing tables to be the next best thing by adding a top to them for only about $50! These table tops are made of material that pins can be put directly into to hold your fabric and crafting materials securely in place.
Step 1: Measure your table space!
My tables were 4ft x 8ft. Pushed together they were almost exactly 8ft x 8ft.
Step 2: Visit your local home improvement store!
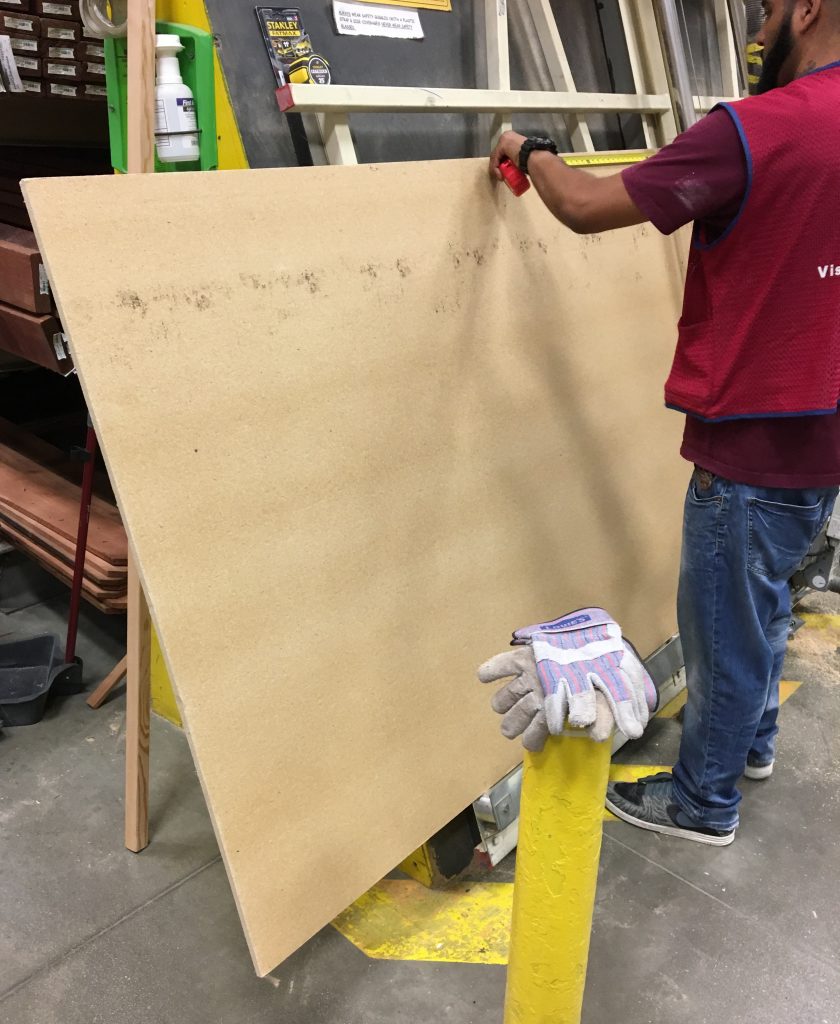
You are looking for large boards of insulation called homasote. (That is the brand name and the store employees should be able to direct you to the same material under a generic name. Think Kleenex vs. facial tissue.) This material is a fiber composite, and has a consistency and weight similar to cork board, but more heavy duty. It’s generally tan in color but one side might be painted.
It costs around $20 for a 4×8 piece. Make sure you buy enough to cover your desired space, and have the store cut it into the right shapes to fit on your table AND fit in your car. (Trust me on that last part… doh!)
Step 3: Get the board in place!
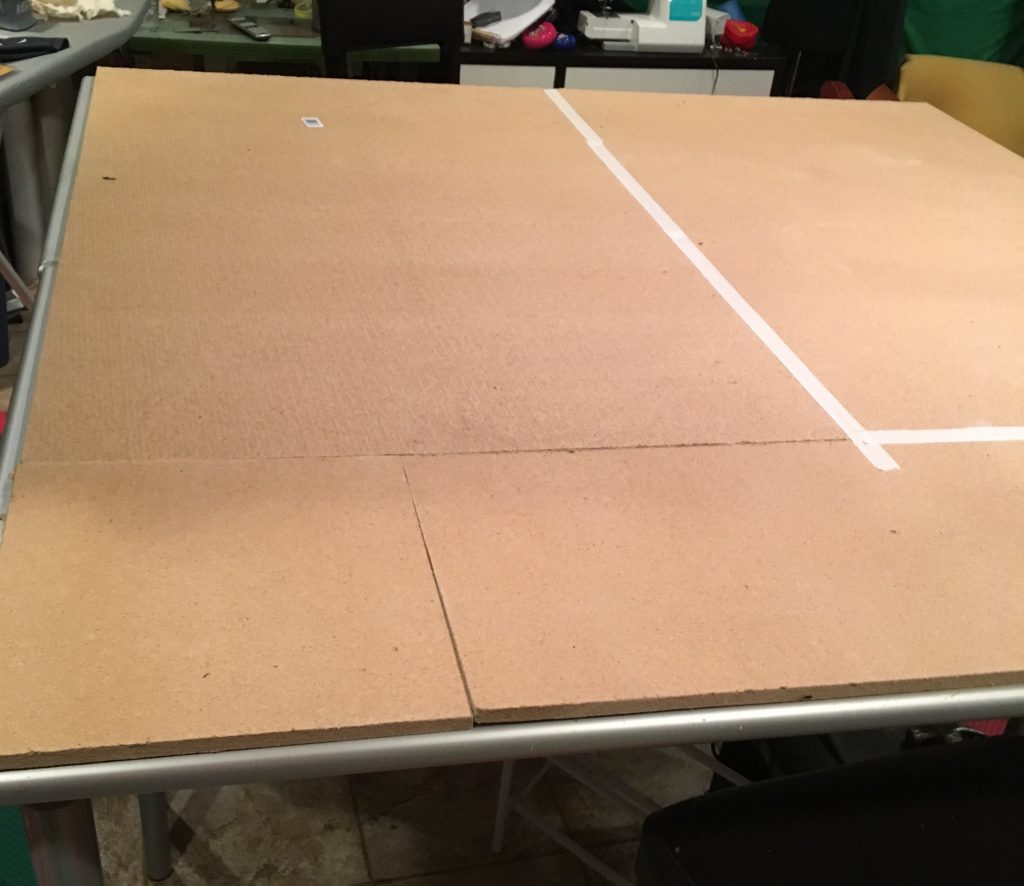
Lay the pieces out to cover the table, then use heavy duty masking tape to cover the seams and keep the boards together. Use the tape to seal the edges of the board to the edges of the table to keep it from slipping around. (DON’T GLUE IT DOWN! You want to be able to easily replace it if something happens!)
 Step 4: Cover it!
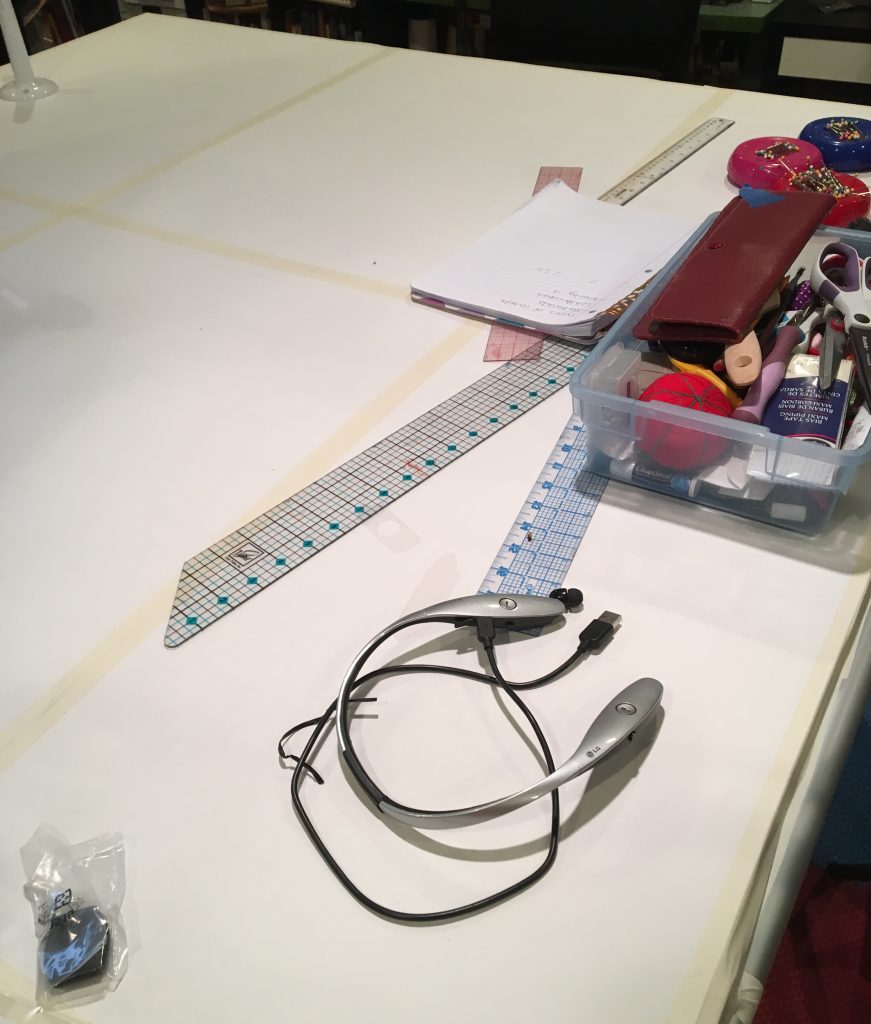
The best material to use is tag paper. It’s easy to get and cheap to replace if you want a clean work surface. Butcher paper can work as well but won’t hold up as well. Use the masking tape along the seams of the paper to finish off the table and give yourself a smooth work surface.
YOU’RE DONE! 🙂
Have fun with your awesome new cutting table!