Do-it-Yourself: The Perfect Cutting Table
The perfect cutting table is a dream for many crafters and DIYers, but sadly, professional cutting tables are expensive! However, you can adapt your existing tables to be the next best thing by adding a top to them for only about $50! These table tops are made of material that pins can be put directly into to hold your fabric and crafting materials securely in place.
Step 1: Measure your table space!
My tables were 4ft x 8ft. Pushed together they were almost exactly 8ft x 8ft.
Step 2: Visit your local home improvement store!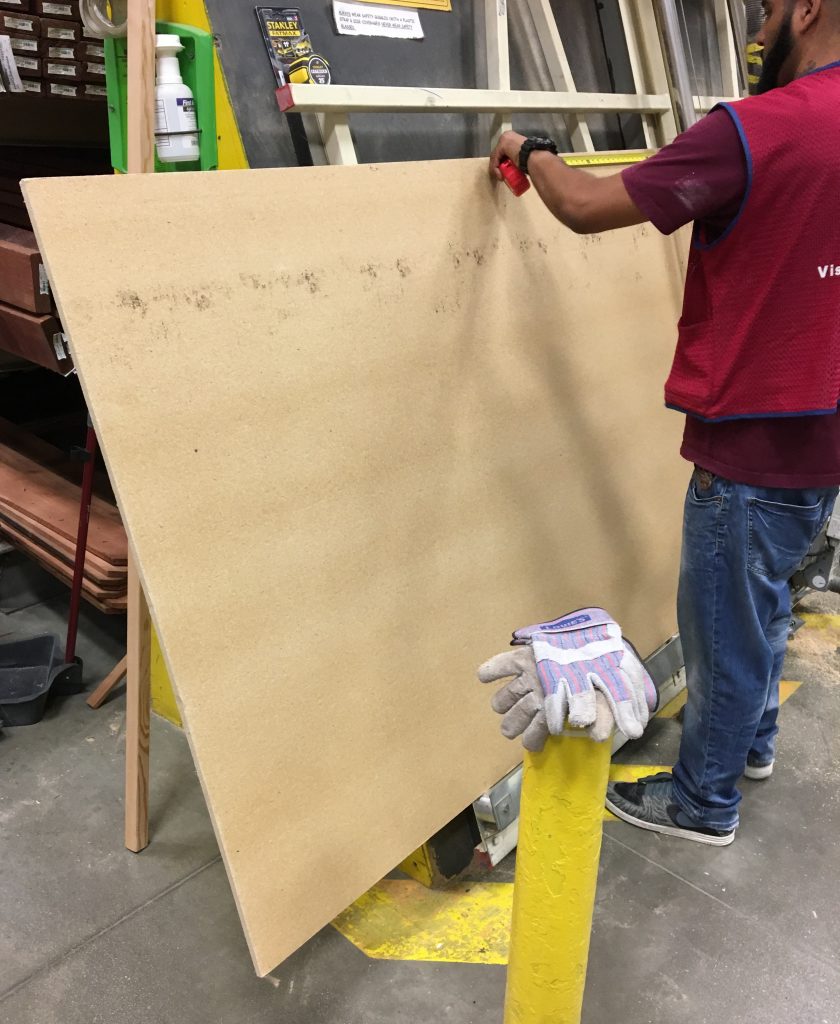
You are looking for large boards of insulation called homasote. (That is the brand name and the store employees should be able to direct you to the same material under a generic name. Think Kleenex vs. facial tissue.) This material is a fiber composite, and has a consistency and weight similar to cork board, but more heavy duty. It's generally tan in color but one side might be painted.
It costs around $20 for a 4x8 piece. Make sure you buy enough to cover your desired space, and have the store cut it into the right shapes to fit on your table AND fit in your car. (Trust me on that last part... doh!)
Step 3: Get the board in place!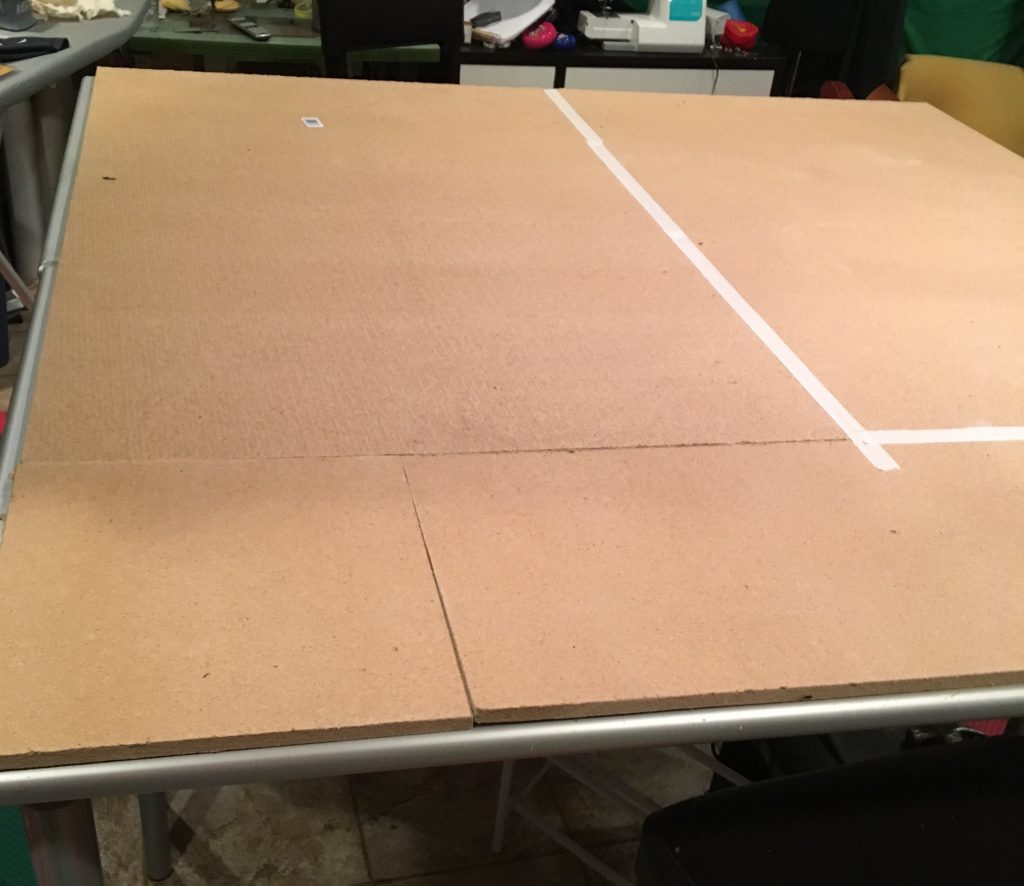
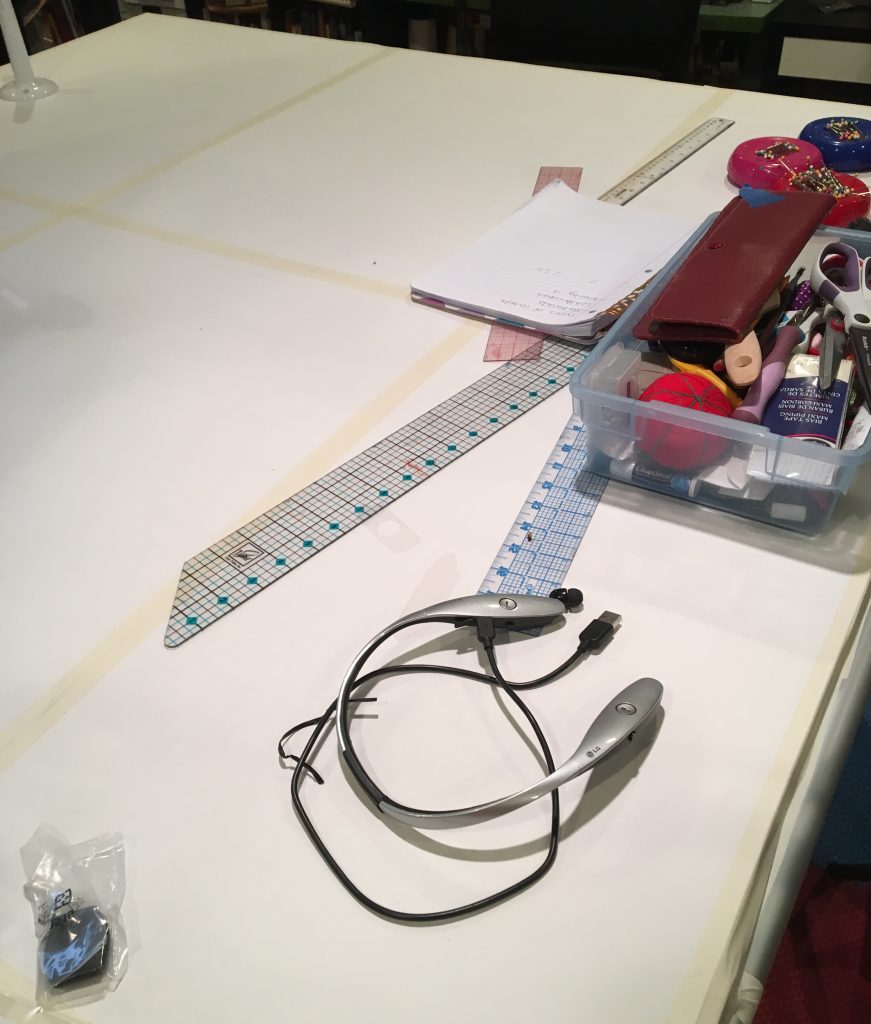
Lay the pieces out to cover the table, then use heavy duty masking tape to cover the seams and keep the boards together. Use the tape to seal the edges of the board to the edges of the table to keep it from slipping around. (DON'T GLUE IT DOWN! You want to be able to easily replace it if something happens!)
 Step 4: Cover it!
The best material to use is tag paper. It's easy to get and cheap to replace if you want a clean work surface. Butcher paper can work as well but won't hold up as well. Use the masking tape along the seams of the paper to finish off the table and give yourself a smooth work surface.
YOU'RE DONE! :)
Have fun with your awesome new cutting table!
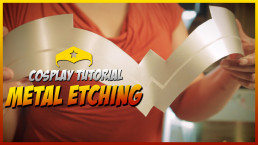
Do-it-Yourself: Easy Metal Etching
A simple, safe way to etch designs into metal costume and cosplay pieces. This will also work for metal knives and tools!
Materials:
1 9 volt battery
2 low voltage wires
4 alligator clips
1 cup salt water
Many Q-tips
Electrical tape/nail polish/vinyl sticker
Metal object
Post any questions in the comments below or reach out on social networks! Thank You for Watching! Subscribe if you want more Golden Lasso Girl videos!
Watch More GoldenLassoGirl Videos: http://tinyurl.com/glgvideos
Subscribe to GoldenLassoGirl: http://tinyurl.com/glgsubscribe
Twitter: https://twitter.com/goldenlassogirl
Instagram: https://instagram.com/goldenlassogirl
Facebook: http://fb.me/goldenlassocosplay
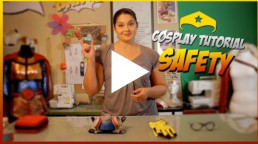
Do-it-Yourself: Crafting Safety
Safety is something that many of us slack on when we are crafting! Check out this short video to learn the 5 things you should have to keep yourself safe while creating your cosplay or other craft project.
Post any questions in the comments or reach out on social networks! Thank You for Watching! Subscribe if you want more Golden Lasso Girl videos!
Watch More GoldenLassoGirl Videos: http://tinyurl.com/glgvideos
Subscribe to GoldenLassoGirl: http://tinyurl.com/glgsubscribe
Twitter: https://twitter.com/goldenlassogirl
Instagram: https://instagram.com/goldenlassogirl
Facebook: http://fb.me/goldenlassocosplay
Do-it-Yourself: Metal Armor & Accessories
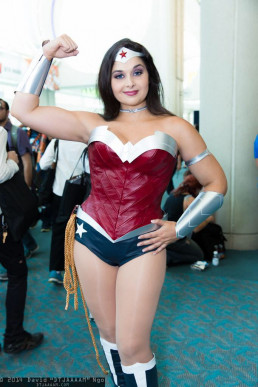
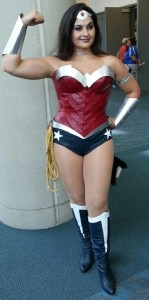
My first YouTube cosplay tutorial is up! I often am asked about my metal Wonder Woman armor, so I decide it would be a great topic! Check out the video to see how I make metal armor and accessories without power tools and on a small budget!
This tutorial does have some sharp edges! Please use the proper safety gear. Crafters under the age of 18 should only attempt this tutorial with parental permission and supervision.
Materials:
Craft Foam
Scissors/Exacto Knife
Pencil & Sharpie
Aluminum Kick Plate
Aviation Snips (min.18-gage)
Block Sanders
Hammer & Nail
Dremel (optional)
If making Wonder Woman tiara you will also need:
Metal Star
Stain Glass Window Paint
6 inches of 1/4 inch elastic
Adhesive Putty or Double Sided Foam Adhesive Strip
TO ADD THE ETCHED LINES INTO THE METAL USE THIS TUTORIAL: https://www.youtube.com/watch?v=XOQM9kBG2JA
Post any questions in the comments or reach out on social networks! Thank You for Watching! Subscribe if you want more Golden Lasso Girl videos!
Watch More GoldenLassoGirl Videos: http://tinyurl.com/glgvideos
Subscribe to GoldenLassoGirl: http://tinyurl.com/glgsubscribe
Twitter: https://twitter.com/goldenlassogirl
Instagram: https://instagram.com/goldenlassogirl
Facebook: http://fb.me/goldenlassocosplay
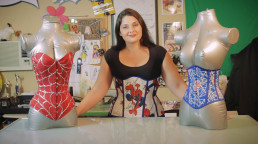
Do-it-Yourself: New52 Wonder Woman Corset
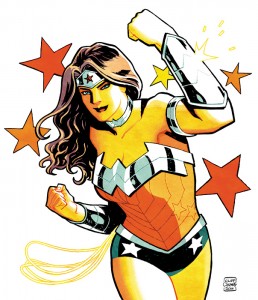 Wonder Woman's corset in the New52 is stunning. The complex chevron pattern combined with stars is intricate and eye-catching. As difficult as it is to draw, it's even more difficult to sew. Chevrons are quite a challenge and are also very time consuming.
Now there are two ways to make this corset, the easier way (still not super easy) and the hard way. The easy way would be to buy/make a corset, then make the straight lined chevrons out of a stretch fabric to cover that corset. I was hesitant to use this method because it can result in the chevrons looking warped as the fabric stretches to match the curves of the body, and because I wanted my corset to look like it was made out of leather.
Thus, the hard way.
Please Note: This is a difficult project that requires pretty advanced sewing skills. You will need to be familiar with making corsets and have a corset pattern that works for you as a base for this tutorial. You will also need a walking foot for your sewing machine if you are using leather.
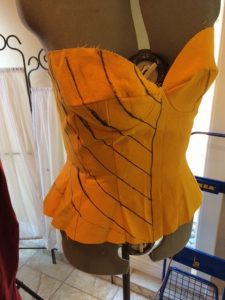
Step 1: Use your corset pattern to make a mock-up. Make sure you use the same type of fabric that you will eventually use for the base of your final corset, I recommend something heavy like duck cloth.
Step 2: Put this mock-up on a dress form, a volunteer, or yourself if you have a friend to help. Then draw chevrons on half of the mock-up. Measure equidistant meeting points on the center front of the corset as a base, then draw out from there. The trick is that these cannot be straight lines drawn with a ruler. You will get a tube shape if you tried to make a corset out of straight lines that would not form to the contours of your body correctly. You have to draw chevrons that form to the body's curves and appear to make straight chevrons. YOU WILL GET LOTS OF FREAKY SHAPED STRIPS. THAT IS OK!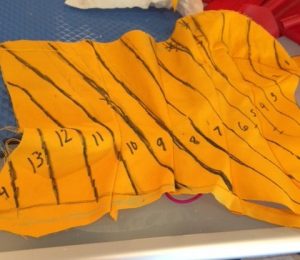
Step 3: Mark the lines on your mock-up with notches and numbers so you can keep track of which order the pieces go in, and where they meet. Cut the mock-up along the lines you drew to create the pattern for your final corset cover. DON'T FREAK OUT AT THE STRANGE SHAPES YOU GET!
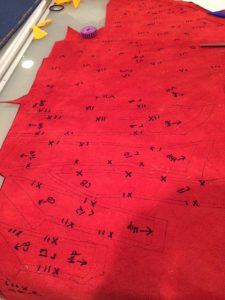 Step 5: Trace your pattern pieces onto your final fabric and add a 1/2 inch seam allowance around each piece. Make sure you have two complete sides for your corset and the pieces for each side should be a reflection of each other. Make sure you copy over the notches and identifying marks onto the BACK side of these pieces. I used leather but other pleathers will work as well. Stretch fabrics will not work and will warp the final product, try the previous method listed above if you want to use a stretch fabric.
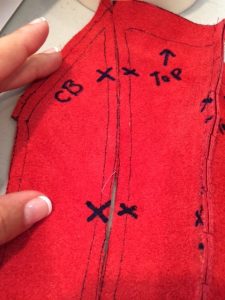 Step 6: Carefully, starting from the top center piece, sew one side of the corset together. Make sure to line up the notches, they are your guide! Now sew the refection side of it together. You should now have two complete halves of a corset cover that are reflections of one another.
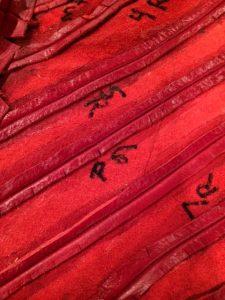
Step 7: Using rubber cement, glue all of your seam allowances flat against the back of your corset cover. Make them all as flat as possible. Flat seam allowances will make your life easier later and make your final product look better! Make sure the glue is dry before moving on to step #8.
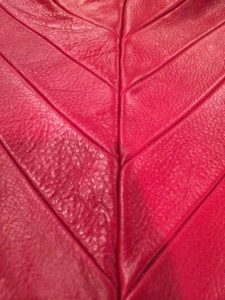 Step 8: Now it's time to make the chevrons happen! Meeting the right sides of the corset center fronts (those are two edges) use pins or tape if you are using a leather-like material to insure that the seams of your chevrons meet up. You might have to do a little manipulating and stretching to make the pieces line up perfectly in the front, but this is a VERY important step. You don't want your chevrons to not line up. Sew them together on the wrong side down what now is the center front of your corset cover.
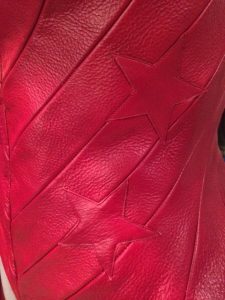 Step 9: The hardest part of your project is over!! Congrats!! Now cut out the stars from the same material as your chevrons, making sure they have the correct proportions to your chevrons. Put a small amount of rubber cement on the back of each star and place it where you'd like it on the corset. The glue will help hold the star in place while you top-stitch it down.
Step 10: Using your corset pattern, make the base corset with metal boning.
Step 11: Again using your dress form, a volunteer, or yourself if you have a friend to help you, put your 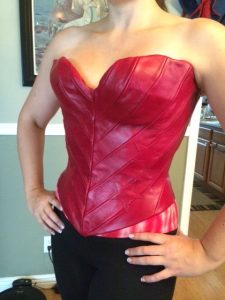 base corset in place. Then, finding the exact center, use bardge cement to glue the center seam of your chevroned corset cover to your base corset. This will keep the center front from moving around. You can also glue around the cups of the corset and along the sides and center back once the front has dried.
Step 12: Hand stitch the edges of your corset cover down on the inside of your base corset. This takes a while and you will definitely need a thimble if you are using leather. Make sure you stitch down all the edges!
Step 13: Grommet the corset.
CONGRATS!! YOU ARE DONE!! Hopefully you have an amazing piece of cosplay art to enjoy!
Do-it-Yourself: Geeky Wedding Garter
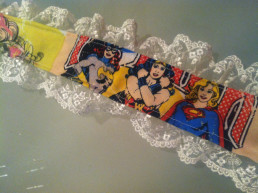
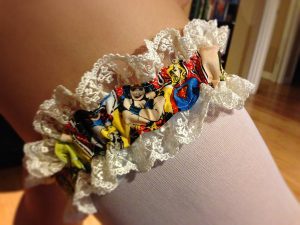 Making your own custom garter is a very easy sewing project! It adds a delightful surprise for your wedding, costume, or lingerie! It's great for the crafty geek who wants to have a little fun!
Step 1:Measure the circumference of your leg with a tape measure. Garters are traditionally worn about two inches above or below the knee, so be sure to measure where you want to wear your garter.
Step 2: Buy your materials! You will need:
- About half a yard of fabric (I used a cotton print)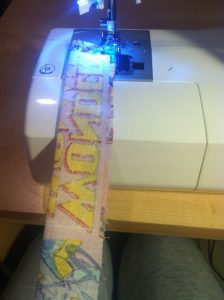
- 2 pieces of lace, each one matching your leg circumference measurement
- 1 inch wide elastic that matches the length of your leg circumference measurement
Step 3: Cut a strip of your prewashed fabric about 4 inches wide and about 10 inches longer than your leg measurement. Once you cut this strip, fold and iron it in half length-wise with the WRONG side of the fabric out. Then sew the open length closed so that you end up with a tube with the correct side of the print on the inside. Once that's done, pull the tube so that the correct side of the fabric is on the outside.
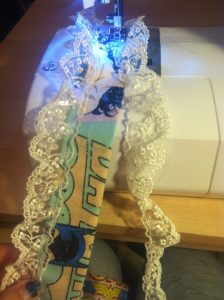 Step 4: Choose which side of the tube you like best, this will be the FRONT for the continuation of this tutorial. Now, pin and sew the lace along the both edges on the BACK of your tube. You need to stay fairly close to the edges so that you still have at least 1 inch between the seams on the tube for the elastic later.
Step 5: Stretch the elastic around your leg where you want the garter to sit. Tighten it enough to stay in place by itself, but not so tight that it is uncomfortable or cuts into your leg too much. Trim the elastic to that length.
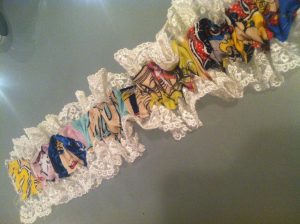 Step 6: Slide the elastic piece through the tube and stitch across each end so that the elastic is sewn to the cloth tube. Gather the tube evenly along the elastic piece to create a ruffled effect.
Step 7: Pin the ends of the garter together in a teardrop shape, make sure the FRONT is on the inside and the BACK is facing outward. Stitch these two ends together and then stitch over the edge with a zig-zag stitch so that the edges don't fray.
Step 8: Surprise everyone by wearing your lovely custom garter!
