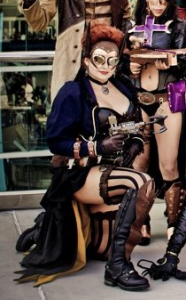
Do-it-Yourself: The Perfect Cutting Table
The perfect cutting table is a dream for many crafters and DIYers, but sadly, professional cutting tables are expensive! However, you can adapt your existing tables to be the next best thing by adding a top to them for only about $50! These table tops are made of material that pins can be put directly into to hold your fabric and crafting materials securely in place.
Step 1: Measure your table space!
My tables were 4ft x 8ft. Pushed together they were almost exactly 8ft x 8ft.
Step 2: Visit your local home improvement store!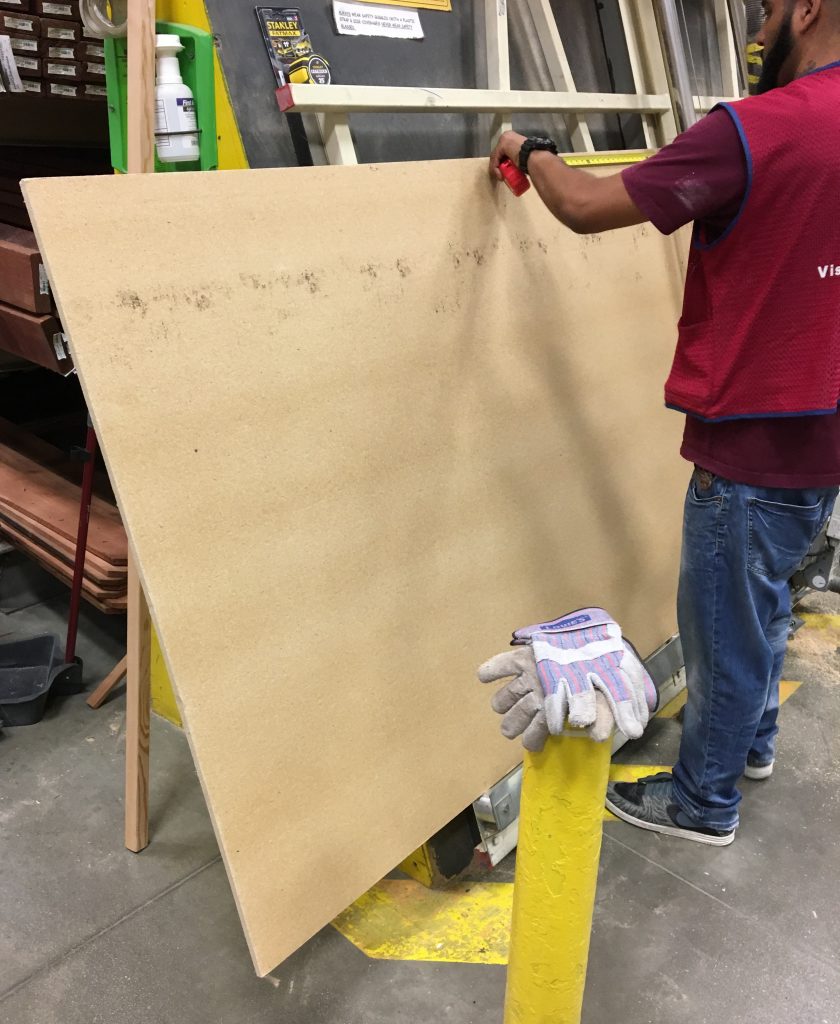
You are looking for large boards of insulation called homasote. (That is the brand name and the store employees should be able to direct you to the same material under a generic name. Think Kleenex vs. facial tissue.) This material is a fiber composite, and has a consistency and weight similar to cork board, but more heavy duty. It's generally tan in color but one side might be painted.
It costs around $20 for a 4x8 piece. Make sure you buy enough to cover your desired space, and have the store cut it into the right shapes to fit on your table AND fit in your car. (Trust me on that last part... doh!)
Step 3: Get the board in place!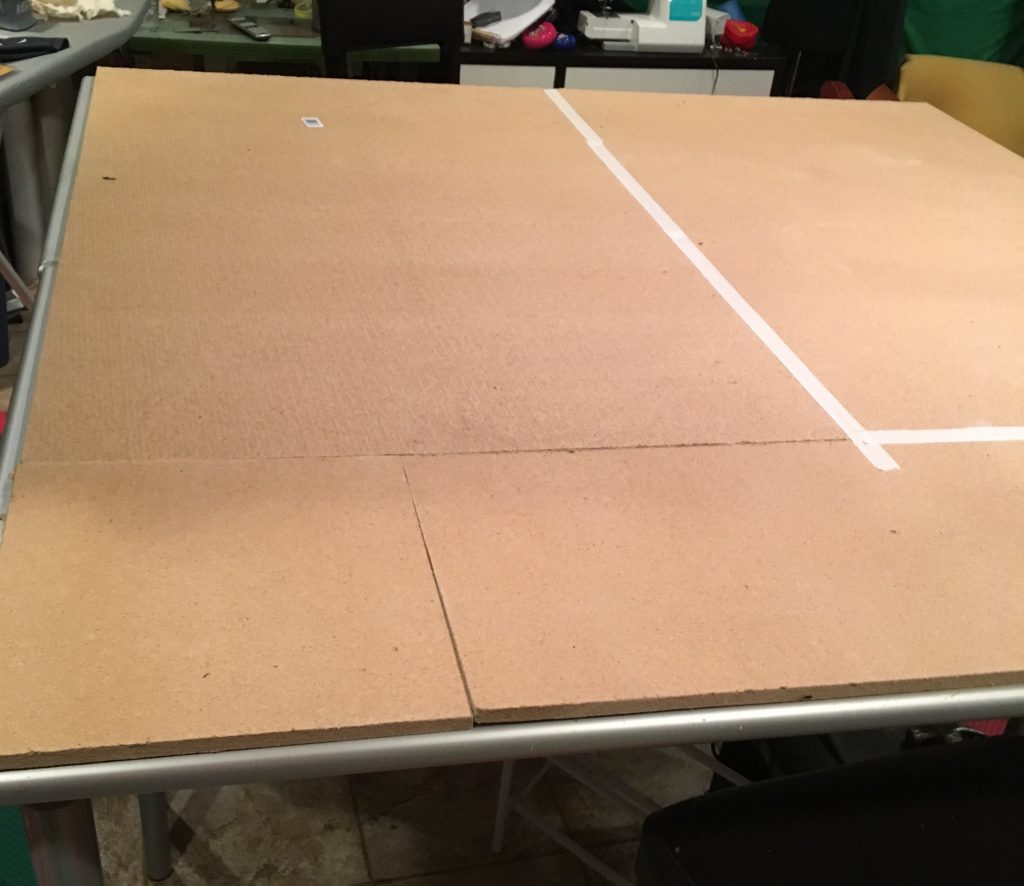
Lay the pieces out to cover the table, then use heavy duty masking tape to cover the seams and keep the boards together. Use the tape to seal the edges of the board to the edges of the table to keep it from slipping around. (DON'T GLUE IT DOWN! You want to be able to easily replace it if something happens!)
 Step 4: Cover it!
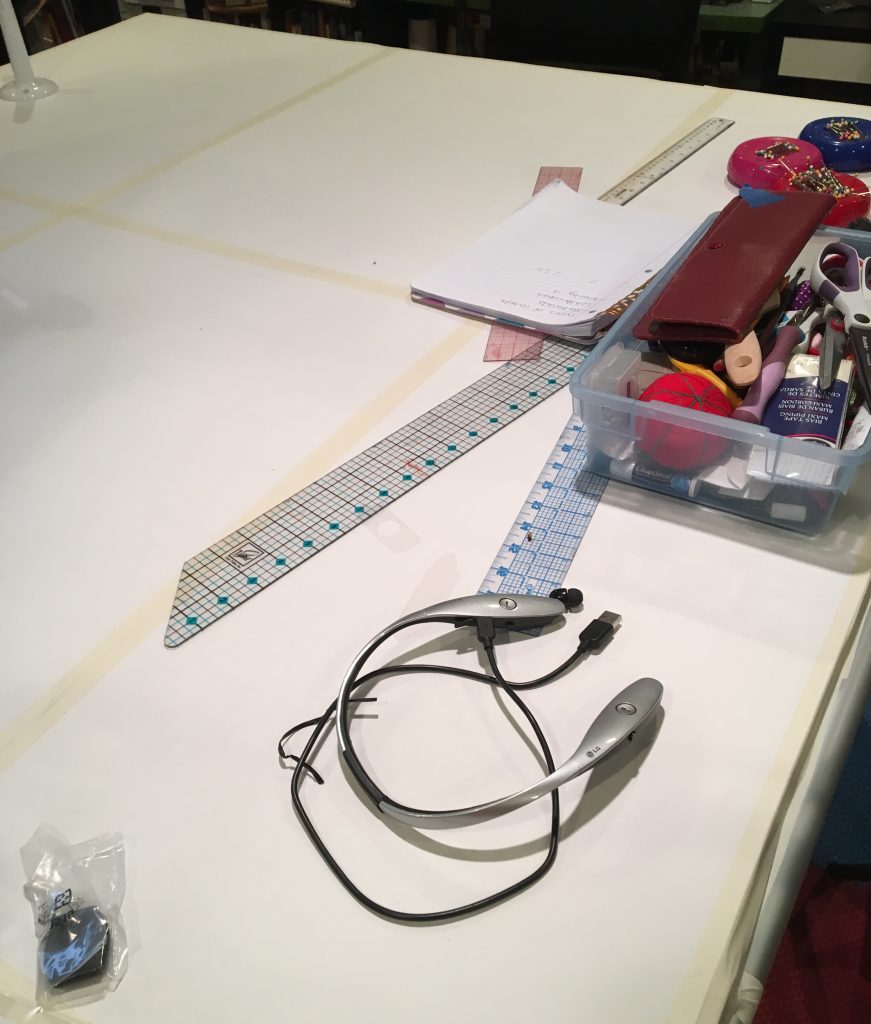
The best material to use is tag paper. It's easy to get and cheap to replace if you want a clean work surface. Butcher paper can work as well but won't hold up as well. Use the masking tape along the seams of the paper to finish off the table and give yourself a smooth work surface.
YOU'RE DONE! :)
Have fun with your awesome new cutting table!
Do-it-Yourself: Geeky Wedding Garter
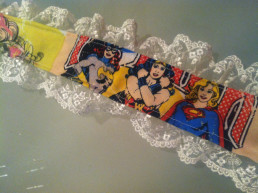
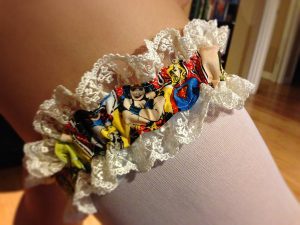 Making your own custom garter is a very easy sewing project! It adds a delightful surprise for your wedding, costume, or lingerie! It's great for the crafty geek who wants to have a little fun!
Step 1:Measure the circumference of your leg with a tape measure. Garters are traditionally worn about two inches above or below the knee, so be sure to measure where you want to wear your garter.
Step 2: Buy your materials! You will need:
- About half a yard of fabric (I used a cotton print)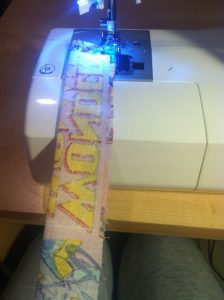
- 2 pieces of lace, each one matching your leg circumference measurement
- 1 inch wide elastic that matches the length of your leg circumference measurement
Step 3: Cut a strip of your prewashed fabric about 4 inches wide and about 10 inches longer than your leg measurement. Once you cut this strip, fold and iron it in half length-wise with the WRONG side of the fabric out. Then sew the open length closed so that you end up with a tube with the correct side of the print on the inside. Once that's done, pull the tube so that the correct side of the fabric is on the outside.
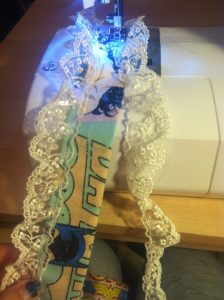 Step 4: Choose which side of the tube you like best, this will be the FRONT for the continuation of this tutorial. Now, pin and sew the lace along the both edges on the BACK of your tube. You need to stay fairly close to the edges so that you still have at least 1 inch between the seams on the tube for the elastic later.
Step 5: Stretch the elastic around your leg where you want the garter to sit. Tighten it enough to stay in place by itself, but not so tight that it is uncomfortable or cuts into your leg too much. Trim the elastic to that length.
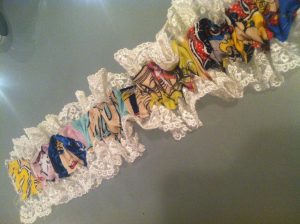 Step 6: Slide the elastic piece through the tube and stitch across each end so that the elastic is sewn to the cloth tube. Gather the tube evenly along the elastic piece to create a ruffled effect.
Step 7: Pin the ends of the garter together in a teardrop shape, make sure the FRONT is on the inside and the BACK is facing outward. Stitch these two ends together and then stitch over the edge with a zig-zag stitch so that the edges don't fray.
Step 8: Surprise everyone by wearing your lovely custom garter!
Do-It-Yourself: Steampunk Bustle Skirt
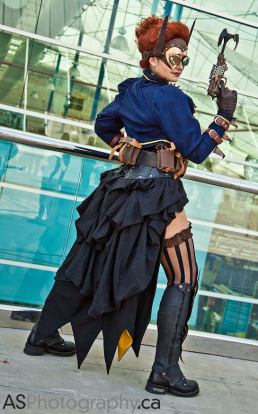
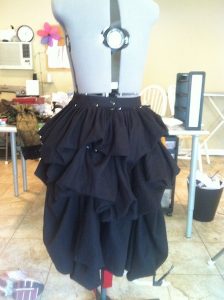
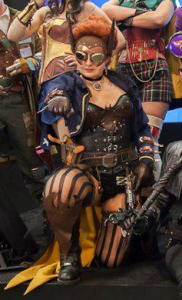
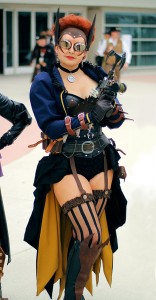
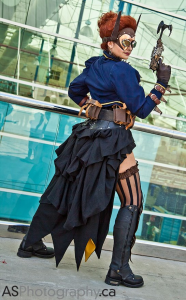 The bustle skirt was my favorite part of my Steampunk Batgirl costume. I wanted to create an item that was a steampunk staple, but still hint at the traditional cape that Batgirl is famous for wearing. The skirt is a simple six-panel skirt that is just missing the front three panels. Don't know what that means? That's ok, keep reading and I will do my best to explain. (I simplified some steps in this process, but it will end up looking just like my skirt.)
Waistband
The first thing you need to figure out is the length of your waistband. Measure your TRUE waist, which should be the narrowest part of your torso, a little above your belly button. If you are going to wear the skirt under a corset subtract one inch from that measurement, otherwise add one inch to the measurement.
Example: Waist measurement: 28 inches
Under Corset: 27 inches
Not under corset: 29 inches
 This will end up being the length of your waistband, including seam allowances. The under corset length is smaller to accommodate the smaller waist size and avoid uncomfortable bunching under the corset. Measure and cut a rectangular strip if your fabric, using your adjusted waist measurement as the length and a width of 4 inches.
Take your waistband strip and iron some interfacing on the underside of it. You don't need heavy duty interfacing, just some regular weight stuff to give the waistband some structural strength. MAKE SURE THAT YOU BUY IRON-ON INTERFACING. It will make your life a LOT easier, so ask the store personnel if you are unsure. It's really easy to buy the wrong stuff, and we all hate the walk of shame back through the fabric store that you left 20 minutes ago.
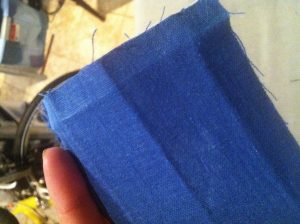 Before you start sewing, you will want to iron creases into your waistband because it will make things much faster. Fold it over length-wise and iron it until it holds the crease down the center, then fold half inch folds along each edge of the waistband and iron until they hold creases as well. These mark your seam allowances and the creases will make the sewing easier.
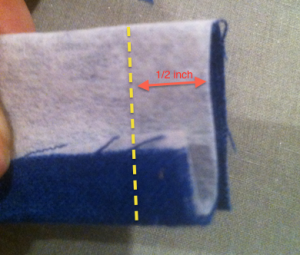 Fold the waistband lengthwise, with the interfacing on the outside. This should be folded opposite of the ironed seam that you ironed earlier. You will then sew the ends closed on the half inch creases that you ironed earlier, but make sure that the lengthwise half inch seams are sewn in the folded position.
Now you are done prepping your waistband! You will turn it right-side out later, but for now we will move on to the panels!
Panels
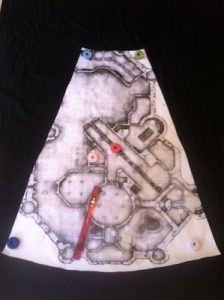 I traced my panels from a floor-length skirt onto large pieces of butcher paper (ok, so they were old DnD maps, sue me). Those panels are about 13 inches wide across the top, 34 inches wide across the bottom, and 42 inches long, but I added about 5 more inches on both sides and an extra foot to the length of my panel outline. The fuller you want your bustle, the more fabric you need to add to each panel. I used three enlarged panels to create my steampunk skirt. Remember, always trace an cut patterns length-wise according to the weave of the fabric, just like the picture to the right.
PLEASE NOTE: Only add extra inches of fabric to the panels that you are going to use for the bustle. You won't want to add as much/any extra fabric to the panel pattern for the front of the skirt or you will trip all over it.
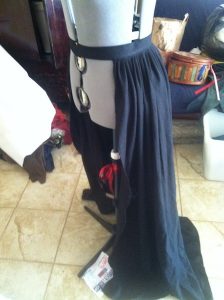
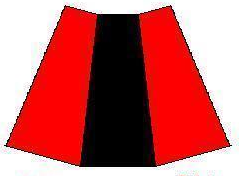 Then sew the panels together by matching the edges and stitching them together to form a circle or semi-circle, like the picture to the left. My skirt only used three panels since it only went half way around my body. Full skirts will usually use five or more panels. Make sure your seams are all facing the same direction on your skirt as you sew. After you sew your panels together, you will want to finish your edges on the underside of the skirt and hem the outer edges. This video shows you ways to do that.
Put it all Together
Now you will pin the panels to the waistband before you sew them. You will choose one of the lengthwise half-inch seam allowances and pin the panels to, and start by pinning the front edges of the skirt to the appropriate place on the waistband. For my skirt, I wanted the skirt to open right in front of my hip bones so that my bloomers and garters would show. The easiest way to do this is to safety pin the waistband on yourself, then pin the front edges of the skirt to where you want them on the waistband.
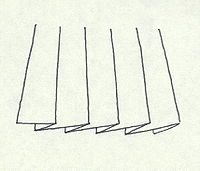
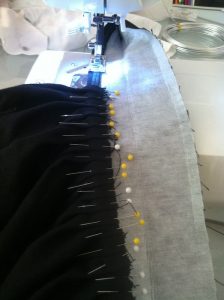 Once the front pins are in place, you will need to make pleats to gather the rest of the skirt fabric to the waistband. You will basically fold the fabric over itself, then pin it into place. This it the most tedious part of making the skirt, but remember that the pleats do not have to be perfect.
Once you are done pinning the skirt, carefully sew the pleats in place on the side that you pinned. Iron the pleats flat after you sew them, then close the waistband (be careful that the other seam allowance is folded up inside), and then sew it shut across the bottom.
Bustling the Bustle
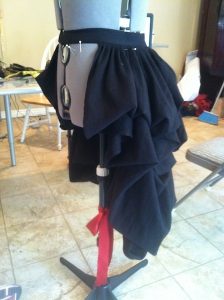
Now your basic skirt is finished, it's time to add the bustle. The easiest way is to put your skirt on the dress form and start pinning. There isn't really a magic formula, just start pulling spots and pinning them to higher places to give it the tiered appearance. Once you have everything looking good, hand stitch each spot where you pinned. Don't start sewing until your whole bustle is pinned, because you will probably change your mind... a few times.
Bat Wings
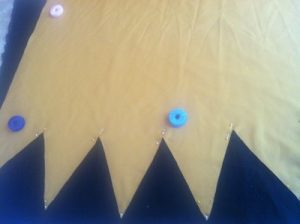 The "bat" part of the skirt was actually designed to be a completely separate piece. It was made just like a cape, and is hand stitched into the waistband so that it can be detached and reattached very easily. I did that to give the skirt more versatility as a costume piece. I can now wear it with my
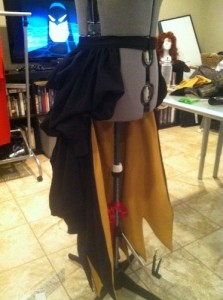 steampunk batgirl, or remove it to be just steampunk!
I measured and drew the desired shape on butcher paper (another old DnD map) and traced one on the black and one on the yellow fabrics. I then carefully cut them out and pinned them together, starting with the point of each bat wing shape to be sure they lined up correctly. I then stitched them together and turned it inside out to hide the edges, just like a simple cape design. Originally, I had planned to add interfacing to give the wings some stiffness and shape, but I really liked how the material flowed without it. Then I simply closed up the top of the "wings" and hand stitched it into the waistband of the skirt, underneath the already finished bustle.
Have questions? Need clarification? Post a reply or email me at Kimi@goldenlasso.net
